Kitchen Photos That Sell Toronto Homes
11/21/2026
Why the Kitchen Decides the Showing
Ask any Toronto agent which photo makes a buyer book a showing, and the answer is almost always the kitchen. Not the living room. Not the primary bedroom. The kitchen. It is the room buyers study longest, zoom into most, and judge hardest — because it is the most expensive room to change and the one they picture themselves in every single day.
A strong kitchen photo does three jobs at once. It proves the home is well maintained. It suggests the renovation budget is already spent. And it lets the buyer rehearse a life: morning coffee at the island, kids doing homework while dinner cooks, friends gathered around on a Friday night. A weak kitchen photo — dark, cluttered, shot from the wrong corner — does the opposite. It whispers "project," and in a market where buyers have options, "project" means they scroll to the next listing.
The good news is that kitchen photography is learnable. You do not need a gut renovation to get a kitchen photo that sells. You need light, the right angles, honest staging, and the discipline to remove everything that does not belong in the frame.
Shoot the Kitchen From Two Angles, Not One
Most listings show the kitchen once, from the doorway, and call it done. That single shot rarely tells the whole story. A kitchen has two personalities: the working side, where the stove, sink, and fridge live, and the gathering side, where the island, seating, and sightlines to the dining room live. Buyers need to see both.
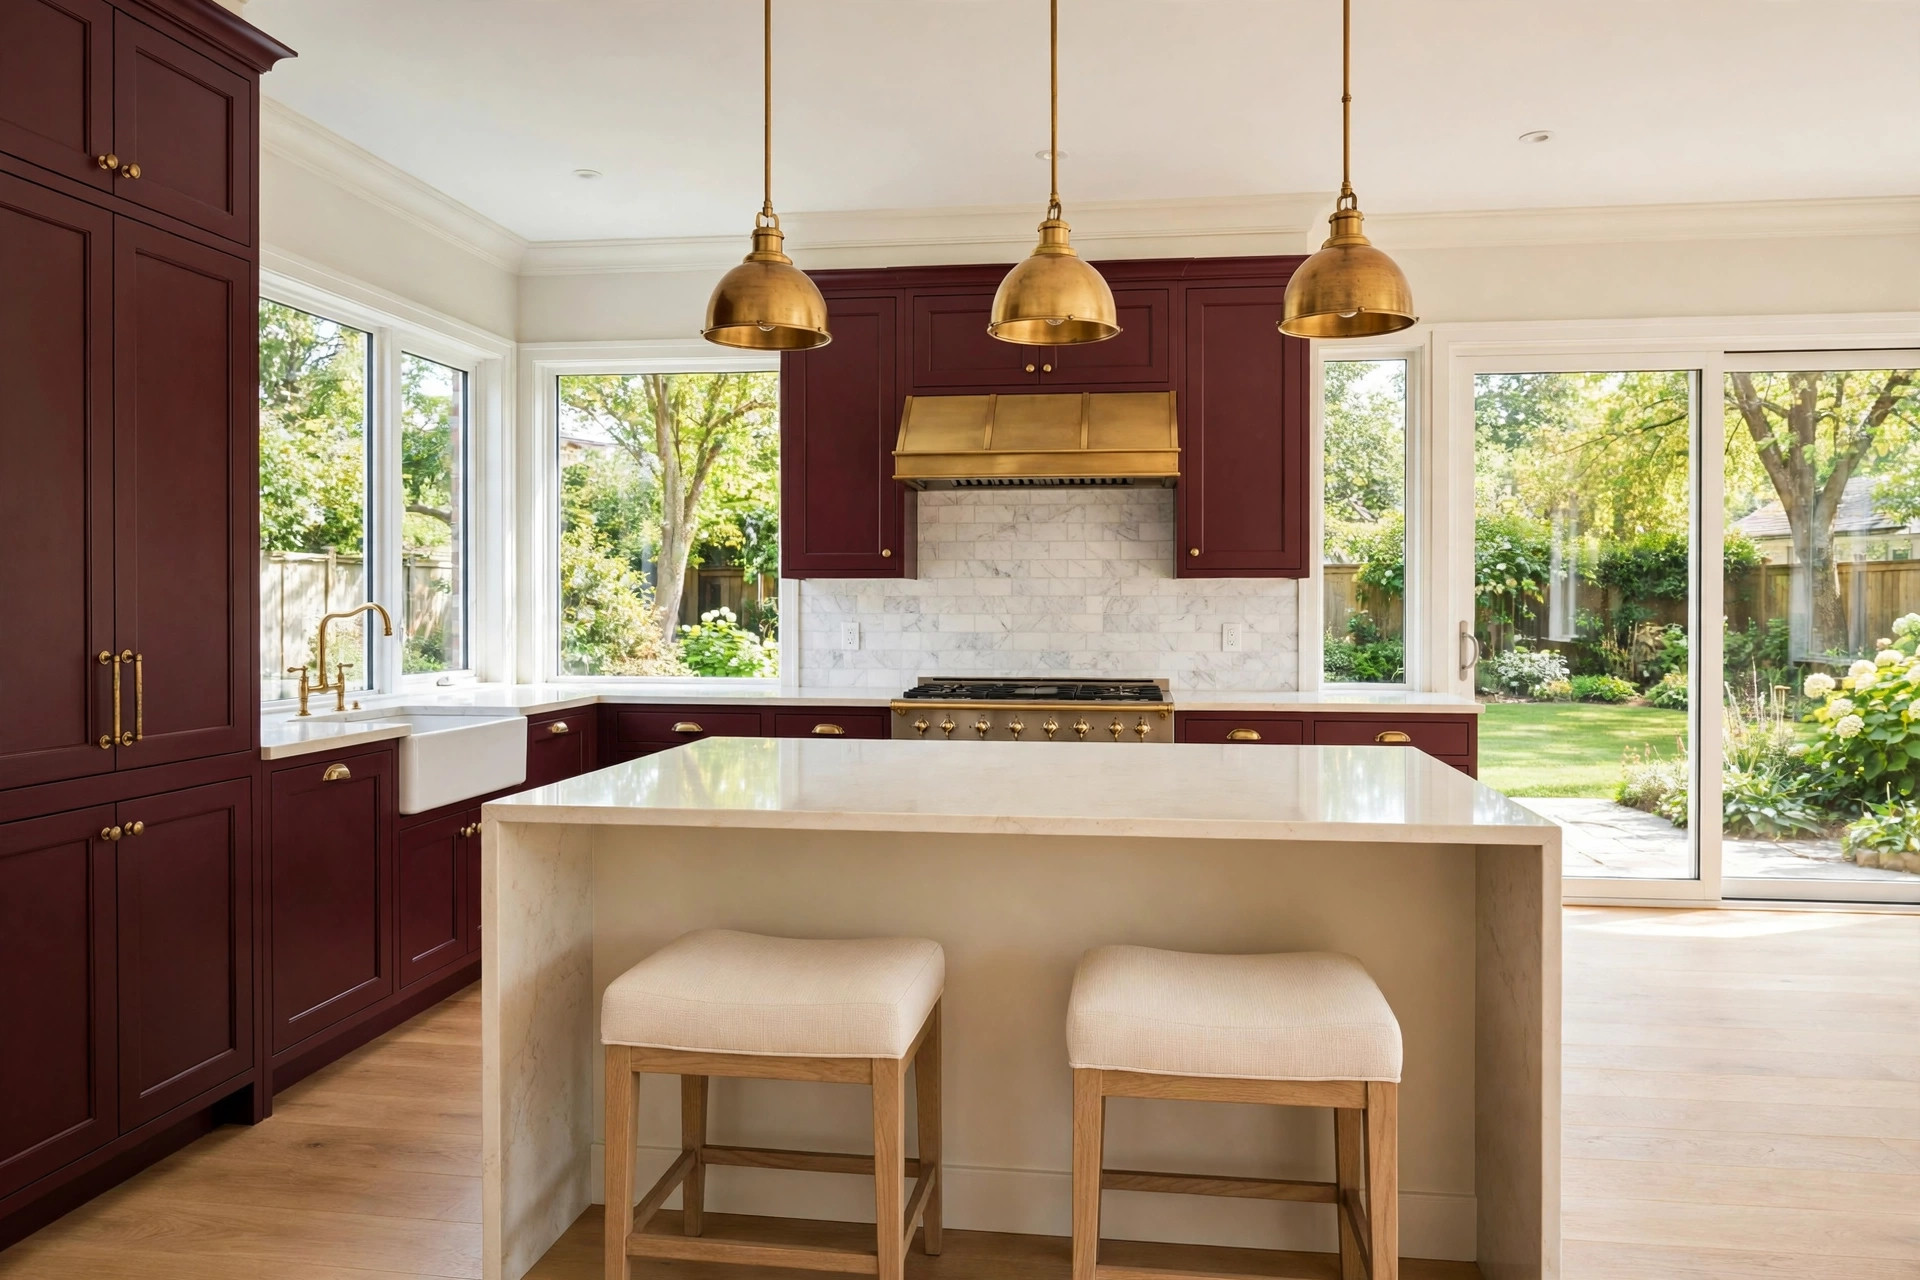
Start with the hero shot: stand in the corner opposite the main run of cabinets, at eye level, and frame the full kitchen with the island in the foreground. This is the photo that will lead the listing, so give it room to breathe — show the floor, the ceiling line, and at least one window or doorway so the space feels connected to the rest of the home.
Then shoot the reverse: from behind the island, looking back toward the stove and the main work zone. This angle proves the kitchen actually functions. It shows counter space on both sides of the range, the distance between the sink and the stove, and whether two people can cook without colliding. Buyers who love to cook will look for exactly this, and agents who provide it get more serious showings.
Keep both shots honest. Use a natural wide angle that shows the room as it feels, keep verticals straight so cabinets do not lean, and resist the ultra-wide distortion that makes a modest condo kitchen look like a banquet hall. A kitchen that looks bigger in the photo than it feels in person does not create excitement — it creates disappointment at the door.
Light the Kitchen Like a Magazine, Not a Basement
Kitchens live or die on light. A bright, even exposure makes cabinets look clean, counters look new, and the whole home feel cared for. A dim, yellow photo makes even a renovated kitchen look tired.
Shoot when daylight is strong but soft — mid-morning in most Toronto homes, when the sun is high enough to fill the room without blasting the windows to white. Open every blind and curtain fully. If the kitchen has a window over the sink, that window is your best friend: it brings in natural light and gives the photo a focal point that feels like home.
Turn on the under-cabinet lights and the pendants over the island. They add warmth and depth, and they signal that the kitchen is designed, not just installed. Then balance the exposure so the window, the cabinets, and the far wall are all readable at once. If the window blows out to pure white, the photo loses its anchor. If the cabinets fall into shadow, the photo loses its subject.
Watch the colour temperature, too. Kitchens often mix cool daylight from windows with warm light from bulbs, and a careless exposure turns one side blue and the other orange. A good photographer balances the two so whites stay white and wood tones stay true. Buyers may not know why a balanced photo feels better, but they feel it instantly — and they trust it more.

Stage the Counters Like Someone Cooks There
An empty kitchen photographs clean and sells cold. A cluttered kitchen photographs honest and sells messy. The target is the middle: a kitchen that looks like a real person cooks there, on their best day.
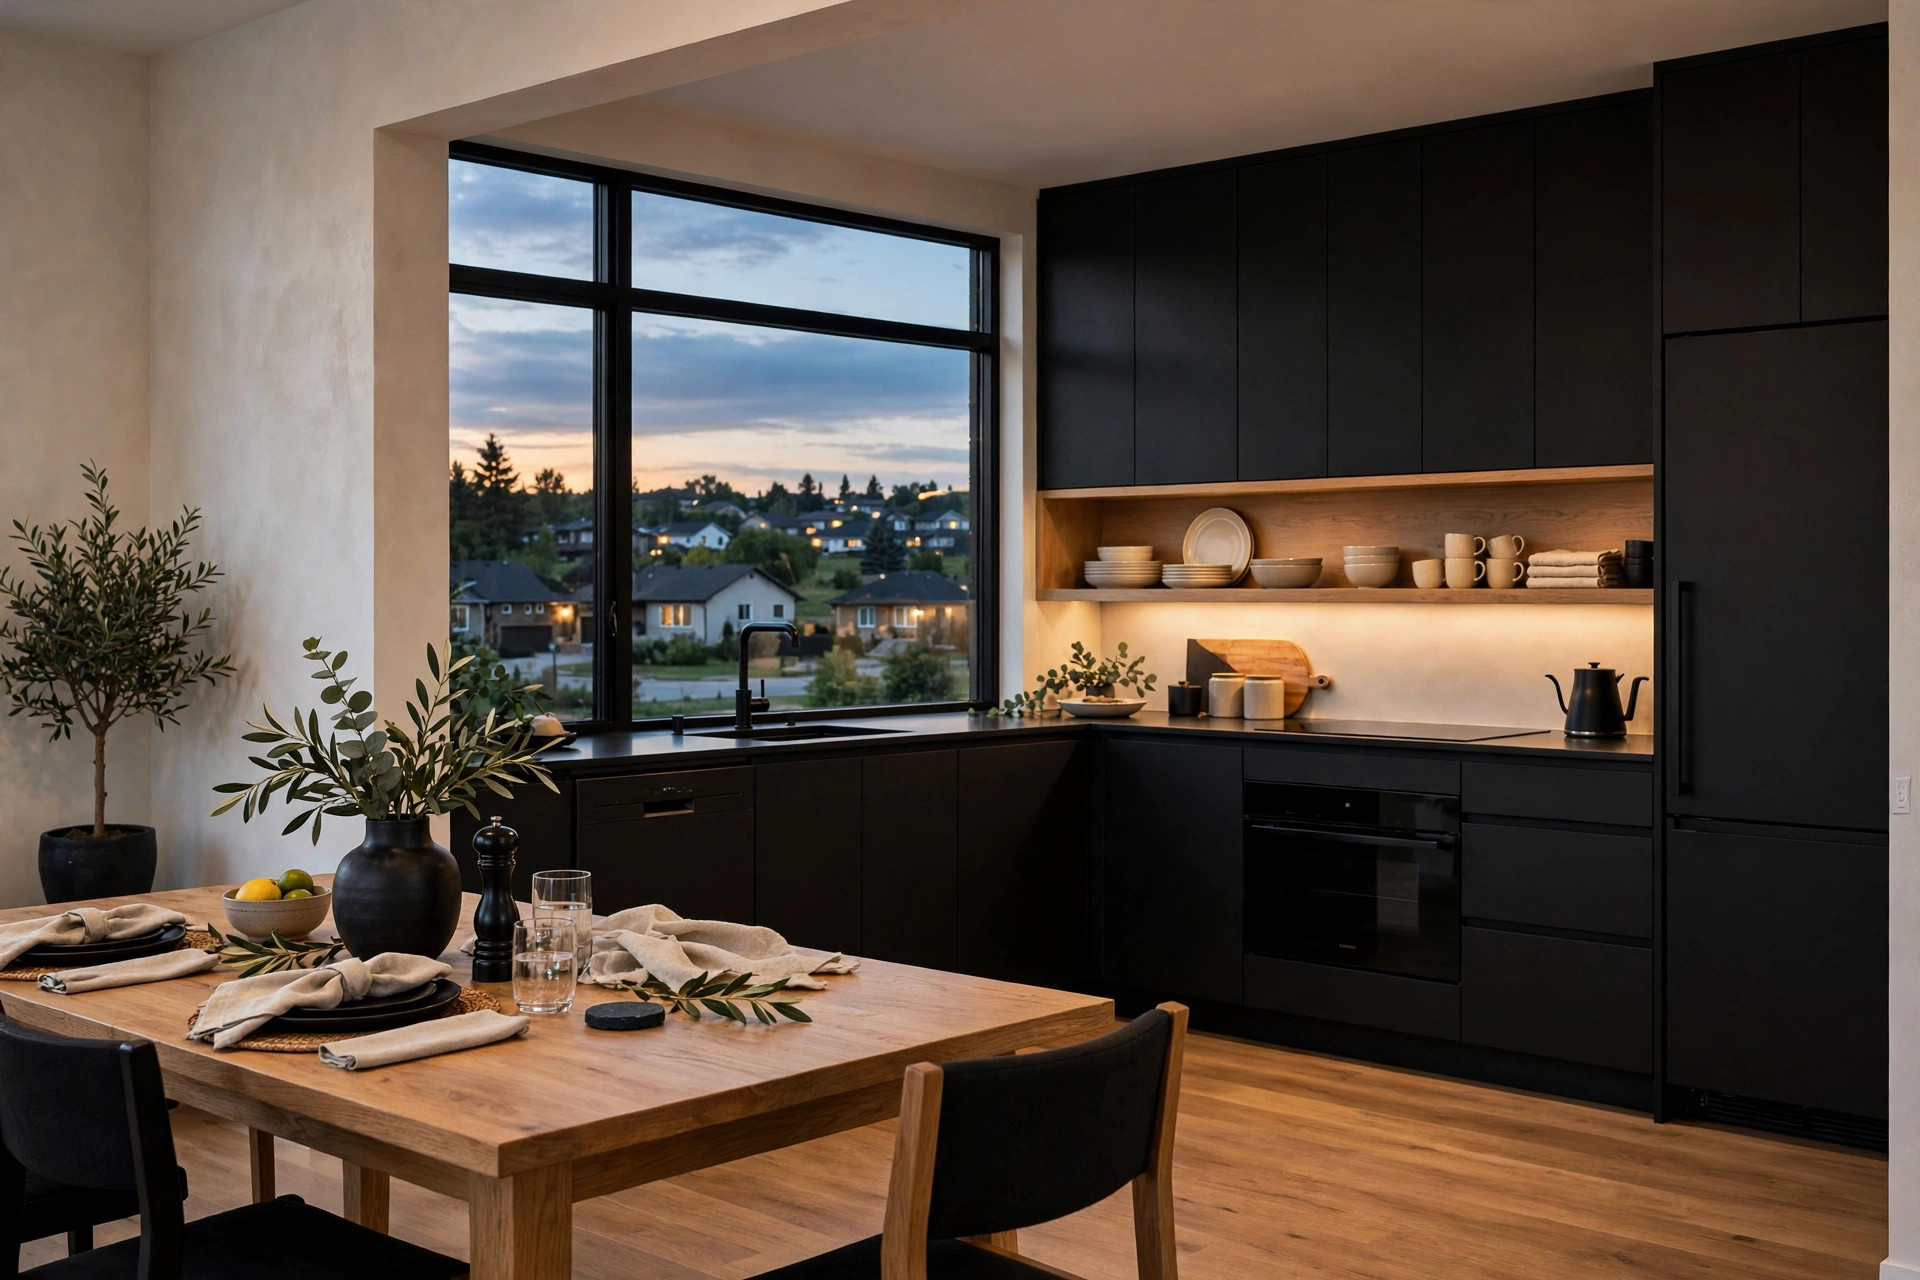
Clear the counters completely first. Every appliance, every dish rack, every bottle of soap goes. Then add back three, and only three, things: a cookbook or a small stack of plates on the island, a bowl of fruit or a vase of fresh herbs near the sink, and one warm detail — a kettle, a wooden cutting board leaning against the backsplash, a small plant by the window. That is enough to suggest life without suggesting clutter.
Style the island like it matters, because in the photo it is the foreground and the eye lands there first. Two stools tucked in neatly. A folded linen napkin or a simple place setting if the island seats people. Nothing that blocks the sightline across the room. The island should invite the buyer to sit down, not make them wonder where the stools went.
Hide the everyday evidence of cooking: the sponge, the dish towel over the oven handle, the magnets and school art on the fridge, the trash can in the corner. None of these things are flaws in real life. In a photo, each one is a small reason for a buyer to feel that the home is someone else's, not theirs. The goal is a kitchen a buyer can step into mentally — and every personal item is a small locked door.
Show the Details Buyers Zoom Into
Buyers do not just look at kitchen photos. They zoom. They pinch in on the stove to see if it is gas or electric. They zoom on the faucet, the cabinet hardware, the backsplash, the fridge. A listing that anticipates this — and gives them clean detail shots to zoom into — earns trust that a single wide shot cannot.
Add one tight detail photo to every kitchen set. The island surface with a cookbook and a coffee cup. The range with a copper pan or a kettle, styled simply. The sink area with the faucet, a small herb pot, and light coming through the window. These close-ups do not replace the wide shots; they complete them. They tell the buyer: this kitchen was finished with care, down to the last handle.
Details also prove quality in a way words cannot. A listing description can say "chef's kitchen" in any home. A photo of a six-burner range, a pot filler, and stone counters that run wall to wall says it without adjectives. If the kitchen has a feature worth naming — a waterfall island, a built-in espresso machine, a walk-in pantry — photograph it deliberately and let the picture carry the claim.
What to Fix Before the Camera Comes Out
Some kitchen photo problems cannot be edited away, and the cheapest time to fix them is before shoot day. A short checklist, run the day before, will do more for the photos than any filter.
Start with surfaces. Wipe the counters, the stove top, and the fridge door until they shine — fingerprints and grease catch light and read as neglect on camera. Empty the sink completely and polish the faucet. A single dirty dish in a sink can undo an otherwise perfect photo.
Then check the small things buyers notice without realizing it. Replace burnt-out bulbs, especially under cabinets. Straighten the stools. Align the cabinet handles — a crooked pull draws the eye for the wrong reason. If a cabinet door hangs slightly open, fix the hinge or tape it shut for the shoot. These are five-minute jobs that make a kitchen look maintained, and maintained is the feeling that sells homes.
Finally, clear the floor. Pet bowls, recycling bins, shoes by the back door, the high chair in the corner — all of it goes. The kitchen floor should be visible from wall to wall in the hero shot, because visible floor is how a buyer reads size. A kitchen with clear floors, clean counters, and honest light does not just photograph well. It photographs like a home someone already loves — and that is the easiest kind of home for a buyer to love next.